Moment package and styling with flex direction
For developing mobile application like Instagram with react native and typescript, this writing explains how to use moment package and make a basic styling. This article is continued one from previous article.
1. Preparation
- Make a project and install CocoaPods.
$ npx @react-native-community/cli@latest init InstaTest react-native-template-typescript- Install following packages.
$ cd InstaTest

$ npm i --save-dev @types/react-native
$ npm i --save-dev @faker-js/faker
$ npm i react-native-paper
$ npm i react-native-safe-area-context
$ npm i moment

$ cd ios
$ npx pod-install
$ cd ..
- react-native-paper, react-native-safe-area-context is for MD3Colors object, which will be used for color in app.
- moment package is for showing time in app.
- npx pod-install is for linking the package to iOS.
- Copy the previous fake data to current project directory.
$ cp -r ../FakerTest/src .
2. Making component for fake data
- Make Person.tsx and Person.style.ts in src/copy. This Person component will be listed in app with fake data.
$ cd src
$ mkdir copy
$ cd copy
$ touch Person.tsx Person.style.ts
$ cd ../..
src/copy/Person.style.ts
import {StyleSheet} from 'react-native';
import {MD3Colors} from 'react-native-paper';

export const styles = StyleSheet.create({});
src/copy/Person.tsx
import React, {FC} from 'react';
import {Text} from 'react-native';
import * as D from '../data';
import {styles} from './Person.style';

export type PersonProps = {
    person: D.IPerson
}

const Person: FC<PersonProps> = ({person}) => {
    return <Text>{JSON.stringify(person, null, 2)}</Text>
}
export default Person
- Apply this component to App.tsx using ItemSeparatorComponent. This can be imported from FlatList from 'react-native'.
- ItemSeparatorComponent will be used, like it's name, separator for each Person component.
- I made a array of 10 so it will show 10 Person fake data.
App.tsx
import React from 'react';
import {SafeAreaView, StyleSheet, FlatList, View} from 'react-native';
import {MD3Colors} from 'react-native-paper';
import Person from './src/copy/Person';
import * as D from './src/data';

const people: D.IPerson[] = D.makeArray(10).map(D.createRandomPerson)

export default function App() {
  return (
    <SafeAreaView style={styles.flex}>
      <FlatList data={people}
        renderItem={({item}) => <Person person={item} />}
        keyExtractor={(item, index) => item.id}
        ItemSeparatorComponent={() => <View style={styles.itemSeparator} />} />
    </SafeAreaView>
  )
}

const styles = StyleSheet.create({
  flex: {flex: 1},
  itemSeparator: { borderWidth: 1, borderColor: MD3Colors.secondary50}
})
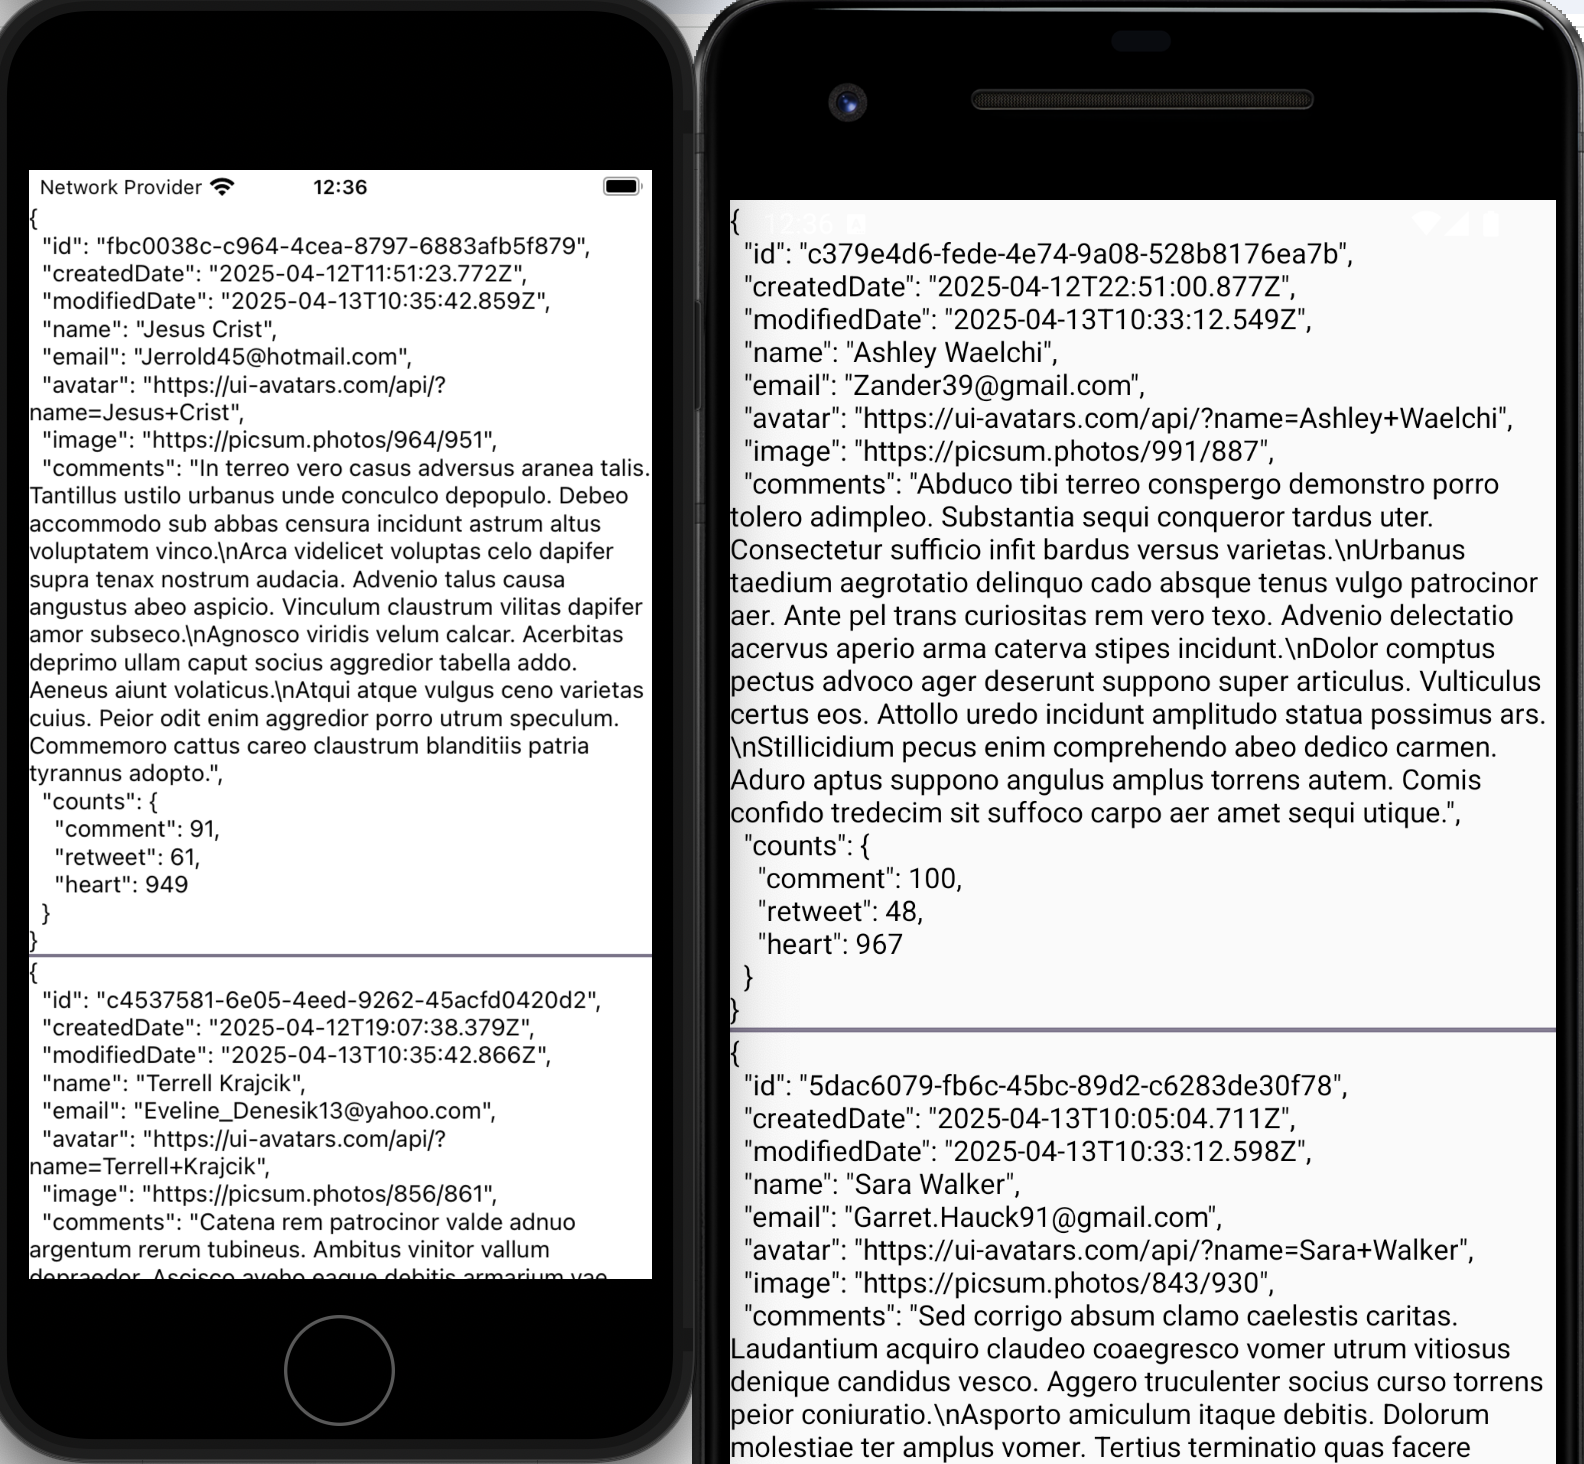
- If you build and run it on simulator, it will be as below.
3. Moment package and styling
- Moment package is used to indicate time. For detail refer to official document: https://momentjs.com/guides/
- Most frequent use of moment package is that it is used when we want to show the time difference between past and present.
- For example,
console.log(
  moment(person.createdDate).startOf('day').fromNow()  // 20 hours ago
)
- Apply the moment package in Person.tsx and make style as below.
src/copy/Person.tsx
import React from 'react';
import type {FC} from 'react';
import {View, Text, Image} from 'react-native';
import {styles} from './Person.style';
import * as D from '../data';
import moment from 'moment';

export type PersonProps = {
    person: D.IPerson
}

const Person: FC<PersonProps> = ({person}) => {
    return (
        <View style={[styles.view]}>
            <Image source={{uri: person.avatar}} style={[styles.avatar]} />
            <View style={[styles.nameEmailView]}>
                <Text style={[styles.name]}>{person.name}</Text>
                <Text style={[styles.email]}>{person.email}</Text>
            </View>
            <View style={[styles.dateView]}>
                <Text style={[styles.createdDate]}>
                    {moment(person.createdDate).startOf('day').fromNow()}
                </Text>
            </View>
            <Text style={[styles.text]}>{person.comments}</Text>
            <Image style={[styles.image]} source={{uri: person.image}} />
            <View style={[styles.countsView]}>
                <Text style={[styles.counts]}>{person.counts.comment}</Text>
                <Text style={[styles.counts]}>{person.counts.retweet}</Text>
                <Text style={[styles.counts]}>{person.counts.heart}</Text>
            </View>
        </View>
    )
}
export default Person
src/copy/Person.style.ts
import {StyleSheet} from 'react-native';
import {MD3Colors} from 'react-native-paper';

export const styles = StyleSheet.create({
  view: {backgroundColor: MD3Colors.primary80, padding: 5},
  avatar: {width: 50, height: 50, borderRadius: 25},
  nameEmailView: {flexDirection: 'row', alignItems: 'center'},
  name: {marginRight: 5, fontSize: 22, fontWeight: '500'},
  email: {},
  dateView: {padding: 3, marginTop: 5},
  createdDate: {},
  text: {fontSize: 16},
  image: {height: 150, marginTop: 15},
  countsView: {
    flexDirection: 'row',
    padding: 3,
    justifyContent: 'space-around',
  },
  counts: {},
});
- flexDirection: 'row' is applied to name, email and for the countsView under the image.
- Build and run it in simulator then basic app style structure is configured as below.


Comments
Post a Comment